Introduction
The SharePoint Framework (SPFx) is a powerful tool that allows developers to build custom solutions for SharePoint Online using modern web technologies. Setting up your development environment correctly is crucial for a smooth development experience. In this guide, we will walk through the steps to configure your laptop for SPFx development.
Prerequisites
Before you begin, ensure that your system meets the following requirements:
-
- Operating System: Windows 10/11, macOS, or a Linux distribution
-
- Node.js: Supported versions (LTS recommended)
-
- Code Editor: Visual Studio Code (recommended)
-
- SharePoint Online Tenant: Required for testing and deployment
-
- Office 365 Subscription: To access SharePoint Online
Step 1: Install Node.js
SPFx relies on Node.js and npm (Node Package Manager). Install the Microsoft Recommended LTS version of Node.js from nodejs.org.
*If you install wrong version, your installation will not work!
Verify Installation
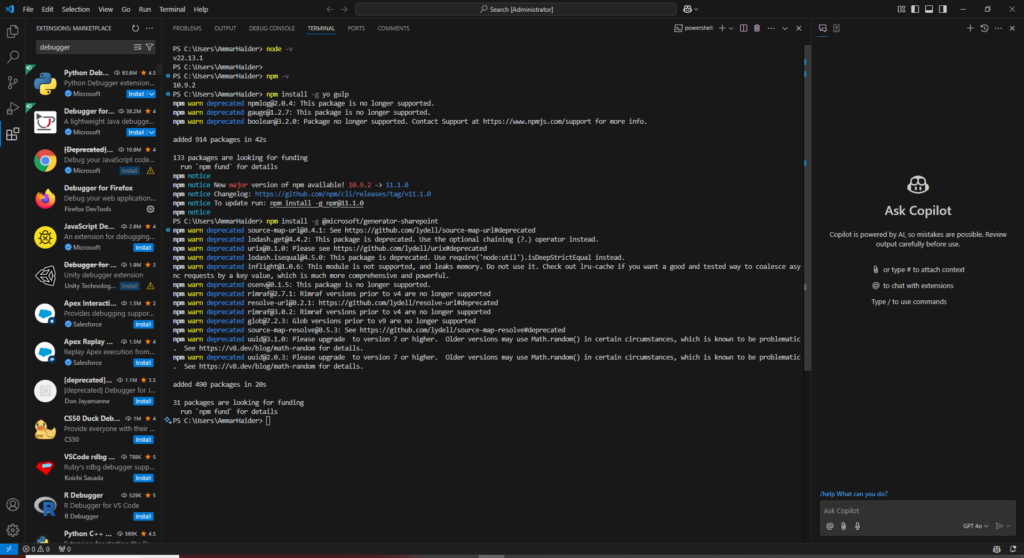
After installation, verify Node.js and npm versions by running the following commands in a terminal:
node -v
npm -v
Step 2: Install the SharePoint Yeoman Generator
Yeoman is a scaffolding tool that helps generate SPFx project templates.
Install Yeoman and Gulp
Run the following command to install Yeoman and Gulp globally:
npm install -g yo gulpInstall the SharePoint Generator
Now, install the SharePoint Framework Yeoman generator:
npm install -g @microsoft/generator-sharepointStep 3: Install a Code Editor
Visual Studio Code is the recommended editor for SPFx development. Download and install it from code.visualstudio.com.
Recommended Extensions
Install the following VS Code extensions for an enhanced development experience:
-
- ESLint – Ensures code quality and formatting
-
- SPFx Snippets – Provides useful snippets for SPFx components
- Debugger for Chrome – Helps in debugging SPFx solutions


Leave a Reply