

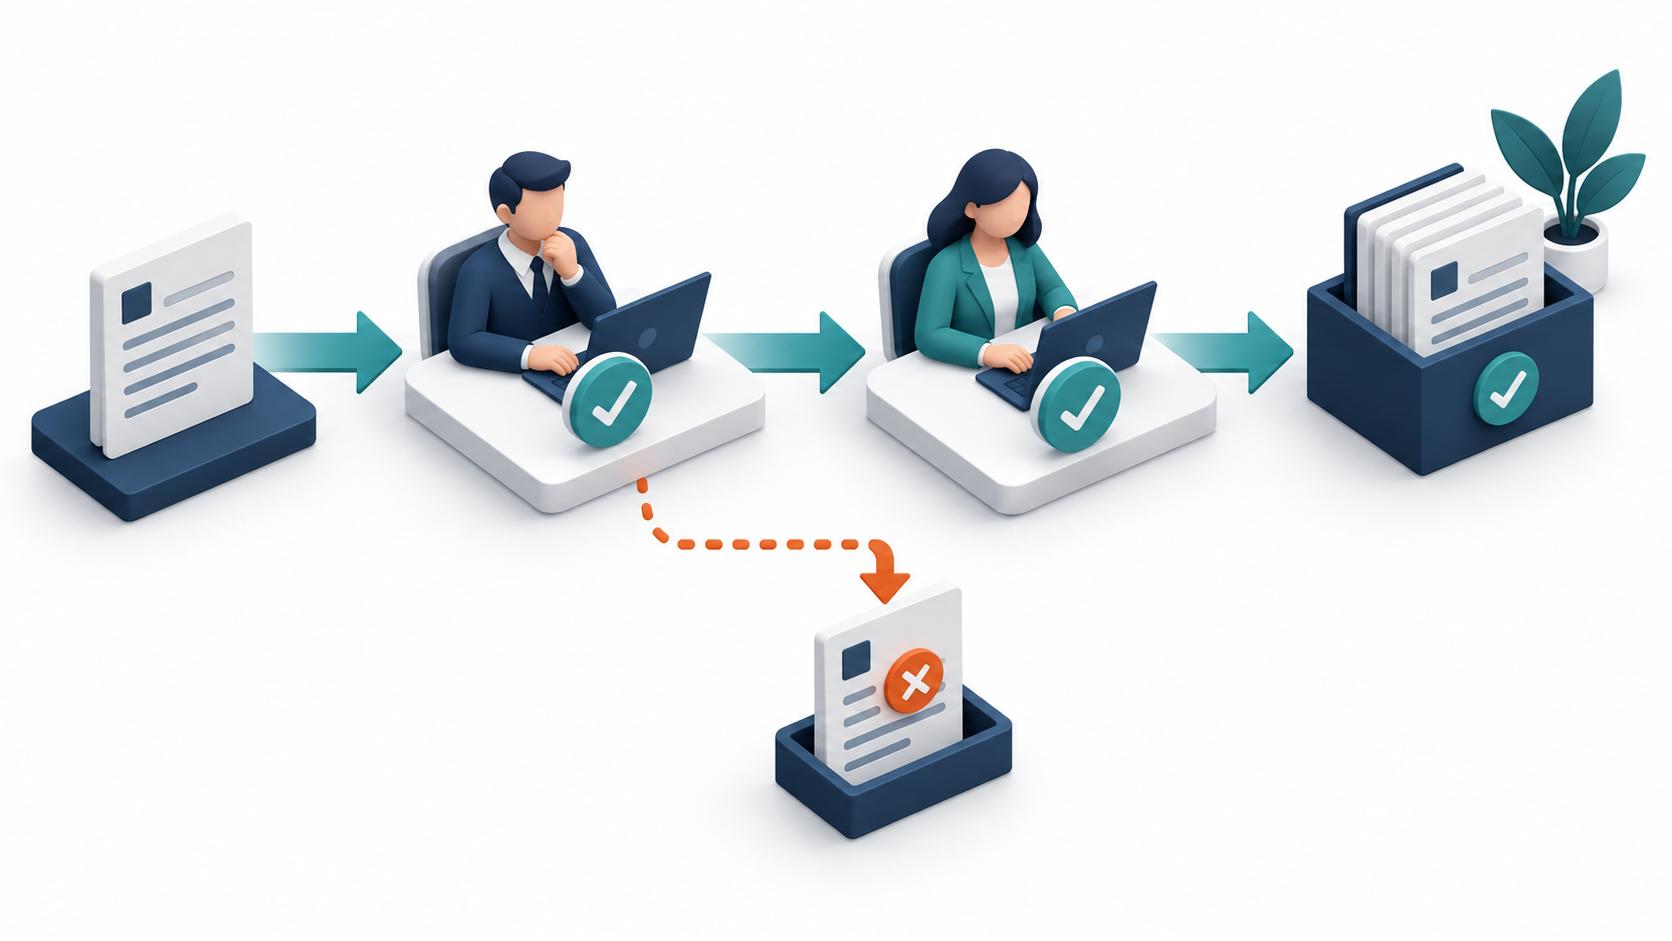
An approval request should have a clear owner, a visible status and a recorded decision. When requests live in email threads, it is easy to lose track of which version was approved or who should respond next.
This guide proposes a small two-stage approval process using a SharePoint list and Power Automate. It is a design example for learning, not a claim about a customer deployment or an importable flow package.
The process at a glance
New request → first review → final review → recorded outcome. A rejection at either review stops the approval path. Missing information, a timeout or a technical failure goes to a separate follow-up state rather than being treated as approval.
1. Agree the rules before building
Choose one request type, such as a purchase request. Identify the two decision makers, the information they need and who handles absences. Decide whether someone may approve their own request and what happens when the request changes after submission. Write these rules down before opening the designer.
2. Create a simple request register
Use a SharePoint list for the request title, business reason, requester, amount where relevant, approvers and status. For this design, use statuses such as Submitted, First review, Final review, Approved, Rejected and Needs attention. Keep each stage’s decision, reviewer, timestamp and comments separately so the second decision does not overwrite the first.
3. Start with a new-item trigger
Create an automated cloud flow using SharePoint’s When an item is created trigger. Select the correct site and list. Validate the required information before sending anything for review. This simple first version assumes that creating the item means submitting it; draft-and-submit behaviour needs an explicit submission rule.
4. Route the first decision
Add Start and wait for an approval, supplying the first approver, a useful title and a link to the request. Check the returned outcome. Continue only after an explicit approval; record a rejection and notify the requester when the decision is negative. Microsoft provides a sequential approval walkthrough covering these building blocks.
5. Complete the final review
Place the second approval action inside the approved branch. Include the first decision’s context so the final reviewer can understand it. Save the final outcome to the same request and notify the requester. Give approvers access to the relevant item: a link in a notification does not itself establish the appropriate permissions.
6. Make exceptions visible
Assign a person to review failed or overdue requests. Keep technical errors separate from business rejections, and define how a corrected request can be resubmitted without duplicating approvals. For long-running processes, review Microsoft’s approval workflow guidance; it calls out a different approach for flows that may exceed 30 days.
7. Test before relying on it
Run synthetic requests through both approvals, rejection at each stage, an unavailable approver and a failed update. Check that notifications, statuses and recorded decisions agree. Also check access using a requester account, not only the flow owner. Record what passed and what still needs work before a pilot.
Access, licensing and scope
You need access to the SharePoint list, Power Automate and the connections used by your flow. Microsoft identifies Approvals as a standard connector; confirm your users’ entitlements and any additional connector requirements against its approvals prerequisites. A free tutorial does not make Microsoft subscriptions free.
Validation status: This article was checked against the linked Microsoft guidance. No flow has been deployed or tested in your tenant, and no downloadable Power Platform solution is attached to this guide.
Bring your next question
Which part of your approval process causes the most chasing? Use Powerful Platform’s free community help service to describe your scenario. Share sample data and the result you want so a useful next step can be identified.


Leave a Reply