
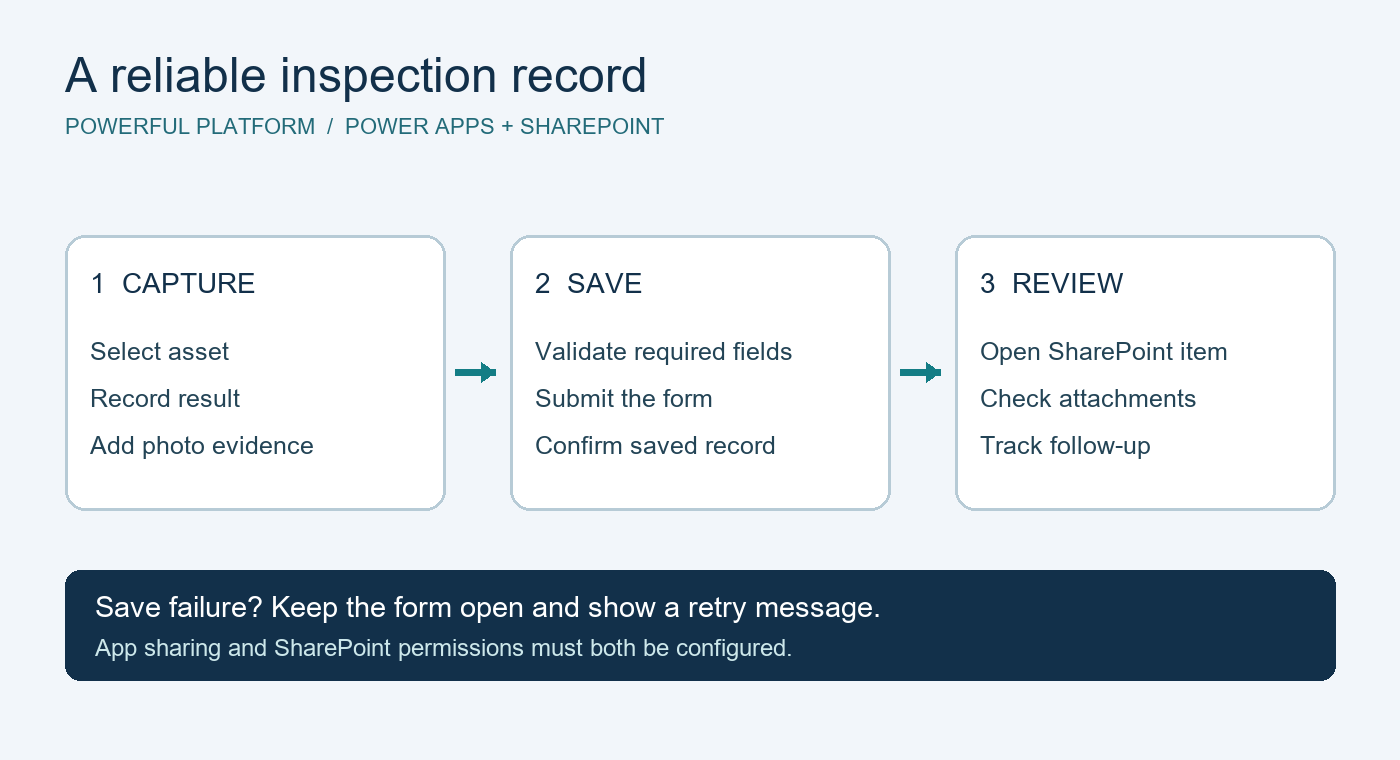
Inspection results often arrive as separate messages, spreadsheets and photos. Someone then has to match each image to the right asset and decide which issues still need attention. A small Power Apps canvas app backed by SharePoint can give a signed-in internal team one place to capture and review that information.
This is a high-level design guide for an online inspection app, not a deployed customer solution or a tested app package. The intended outcome is a saved inspection record with its evidence attached and a clear follow-up status.
Start with a focused pilot
Choose one inspection type and one team. Before building, agree what counts as a completed inspection, which results require a comment, and who owns follow-up. Keep inspection completion separate from corrective-action completion: a failed inspection can be fully recorded while the repair is still open.
You will need a SharePoint site, permission to create lists, a Power Apps environment, authorized internal users, and suitable Microsoft licensing. Ask your administrator to confirm the actual app and connector entitlements; this design does not make Power Apps license-free. See Microsoft’s Power Platform licensing FAQs.
1. Define the records before the screens
For a simple pilot, use an Assets list and an Inspections list. Give each asset a stable reference. Each inspection should identify its asset, inspection date, result, notes, inspection status and follow-up status. Enable attachments on the inspection list. Use synthetic records such as Asset DEMO-001 while testing.
If one inspection has many independently scored questions, plan a separate responses list linked to the inspection. Decide whether evidence belongs to the whole inspection or to an individual response. A single attachment collection on the parent item will not automatically tell reviewers which question each photo answers.
2. Build a short capture journey
Create an asset-selection screen, an inspection form and a confirmation screen. Keep the selected asset visible while the inspector enters results. Use clear field labels and an explicit “Not assessed” option when appropriate, rather than treating an unanswered question as a pass.
Connect the app to its lists using Microsoft’s SharePoint connection guidance. Keep browsing and filtering compatible with the connector’s delegation support, and test with enough records to reveal missing-result problems.
3. Save evidence through the form
For this starter design, use the classic Attachments control inside the edit form. Adding a photo to the control is not the same as saving it: users must submit the form to persist attachment changes. Set sensible file-count and size limits and explain them next to the control.
Microsoft documents different attachment behavior across browsers, Power Apps Mobile and Teams mobile. Test the exact client your team will use; the classic control’s upload and viewing functionality is not supported in Teams on Android or iOS. Read the Attachments control reference before choosing the rollout channel.
4. Make success and failure visible
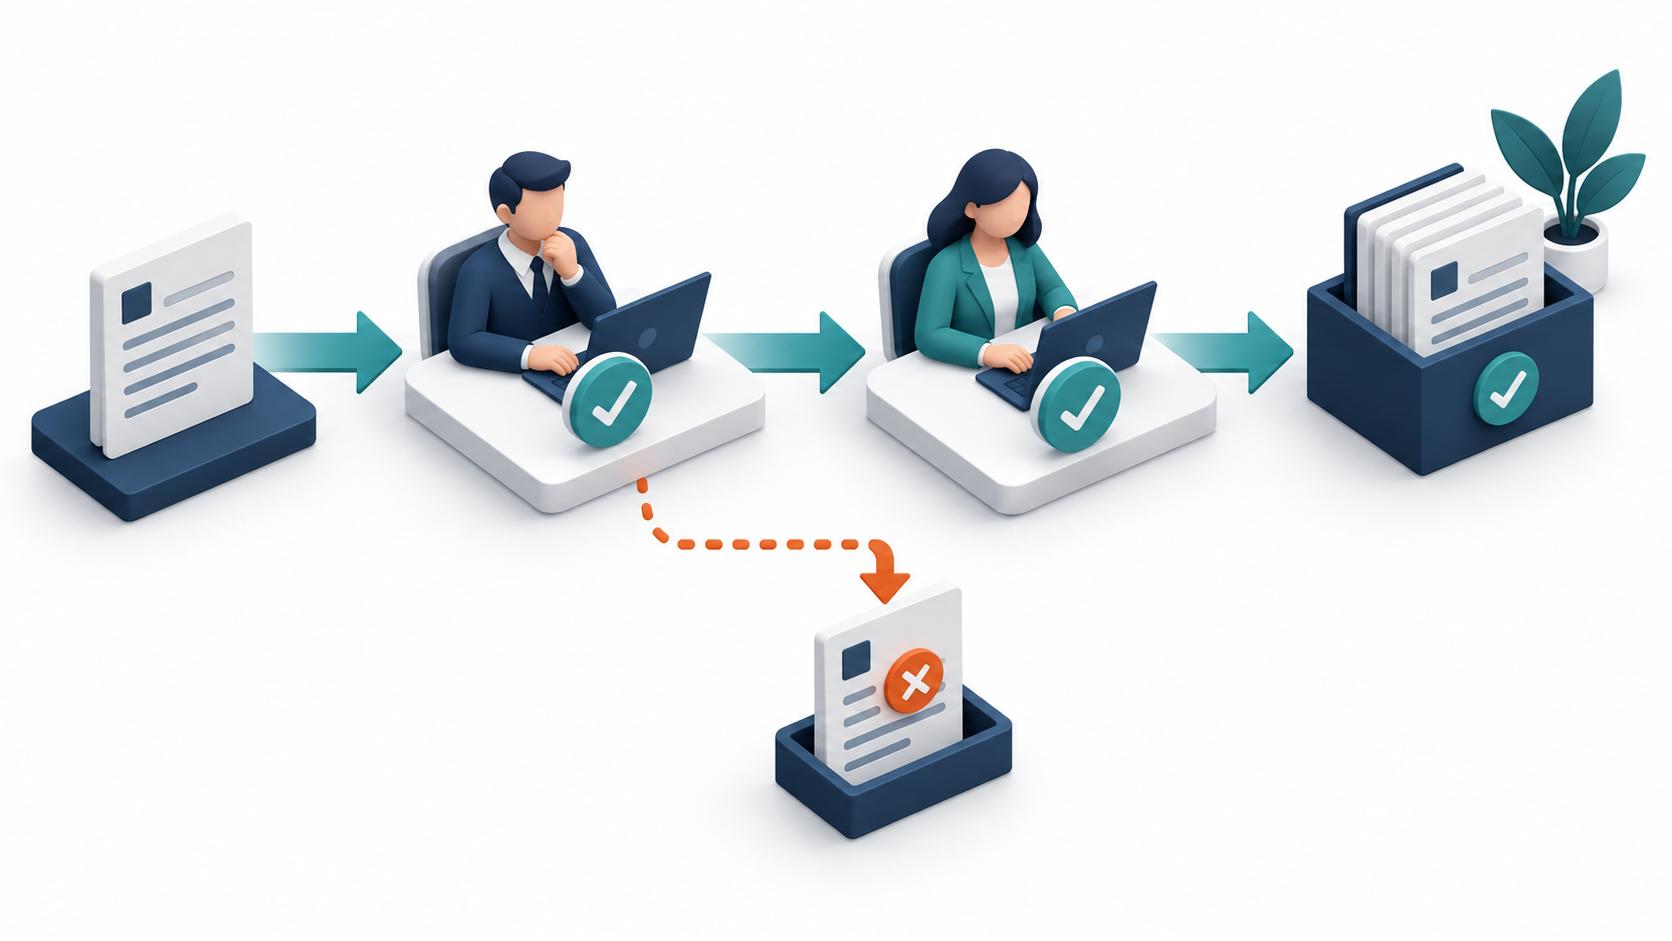
Validate required inputs before submission. Disable repeated save clicks while a save is in progress, and show the confirmation screen only after the form reports success. On failure, preserve the user’s inputs and show a useful retry message. For an uncertain network result, let the user check recent inspections before creating another record.
5. Give reviewers a useful queue
Create a SharePoint view for inspections needing follow-up, with an owner and target date where your process requires them. Start with a review queue before adding notifications. If you later introduce Power Automate alerts, define when an alert should fire and how you will prevent repeated alerts after unrelated edits.
6. Test access as well as functionality
Sharing the app does not by itself grant the required data-source access. Configure SharePoint permissions for the intended audience and test with an ordinary inspector account, not only the maker’s account. Hiding a field or filtering a gallery is not an authorization boundary. Microsoft’s canvas app sharing guidance explains the separate resource requirements.
Before launch, test missing fields, oversized photos, a failed save, repeated taps, denied access and reopening a saved record with its attachments. Verify that a reviewer can find the correct evidence. Record actual results rather than assuming that a successful screen transition proves the data was stored.
Limits and next steps
This design assumes network connectivity and signed-in internal users. Offline synchronization, anonymous access, complex question versioning and regulated inspection requirements need separate design work. No app export is attached to this guide, and no tenant execution tests have been performed.
Have a focused question about your inspection process? Visit Powerful Platform’s free community help page for the request template. Share the business problem and a sanitized example; leave out credentials, personal information and private site links. Response availability is not guaranteed.
Research note: this guide was informed by a public search result for an inspection-app opportunity, retrieved October 17, 2026. The search result displayed September 12, 2026 as its posting date. Direct access was blocked during the prior review, so current availability is unverified. The design above is original and does not reproduce a client specification.


Leave a Reply